“O God, listen to my cry!Hear my prayer! From the ends of the earth. I cry to you for help when my heart is overwhelmed. Lead me to the towering rock of safety,for you are my safe refuge, a fortress where my enemies cannot reach me. Let me live forever in your sanctuary, safe beneath the shelter of your wings!"
Psalm 60:1-4
Today I'm over on the Creative Retreat Blog sharing a bible journaling page using the May Faith Art Box. To read more head over to the Creative Retreat Kits page bleow:
Hello Planner girls! I got some happy mail the other day from The Planner Society and the April Kit is just gorgeous! It has a fun boho feel to it. For May I wanted to set up my green Webster's Page's Traveler's Notebook with this months Planner Society Kit.
I picked up the Webster's Pages Traveler's Notebook Insert from the Color Crush Collection where you store your cash, credit cards, photos, stamps, post its, all sorts of stuff will fit right in your Traveler's Planner. The insert is clear and features four pockets. The large front pocket, three card slot pockets, and one zipper pouch.
I also made my own paper clips by running some of the die cuts through the laminator, and then fussy cutting around the die cuts after laminating. After the pieces were cut out I applied some E6000 adhesive to a paper clip and stuck it on the back of the die cut, and let it dry.
Next I took the backing the sticky notes were attached to and pulled the stacks of sticky notes off leaving one of each on the backing. I ran it through the laminator and cut it out.
I thought it would be neat to have the laminated sticky notes as a dashboard to stick my sticky notes on and clip into an insert.
Here is a little close up of the front of my notebook showing some of the paper clips I made, and the front dashboard.
To see more on how I set up my Traveler's notebook check out my set up video below.
Hello Planner girls! I haven't shown anything using my Happy Planner yet, so I thought I would film a quick little plan with me video for the week of April 24th -April 30th.
"Love the Lord you God with all your heart and with all your soul." -Matthew 23:7
Did you know there are over 40 other verses in the bible that say to "Love the Lord your God"? To read more about it and check out my post over on the Creative Retreat Blog click the link below:
Thanks for visiting and be sure to check out Creative Retreats and their beautiful monthly faith art boxes, there is so much goodness in each box every month!
Spring time is right around the corner, which means it is time for a new planner setup! February's The Planner Society Kit is gorgeous and jam packed with floral and fun bright colors that just feel like spring.
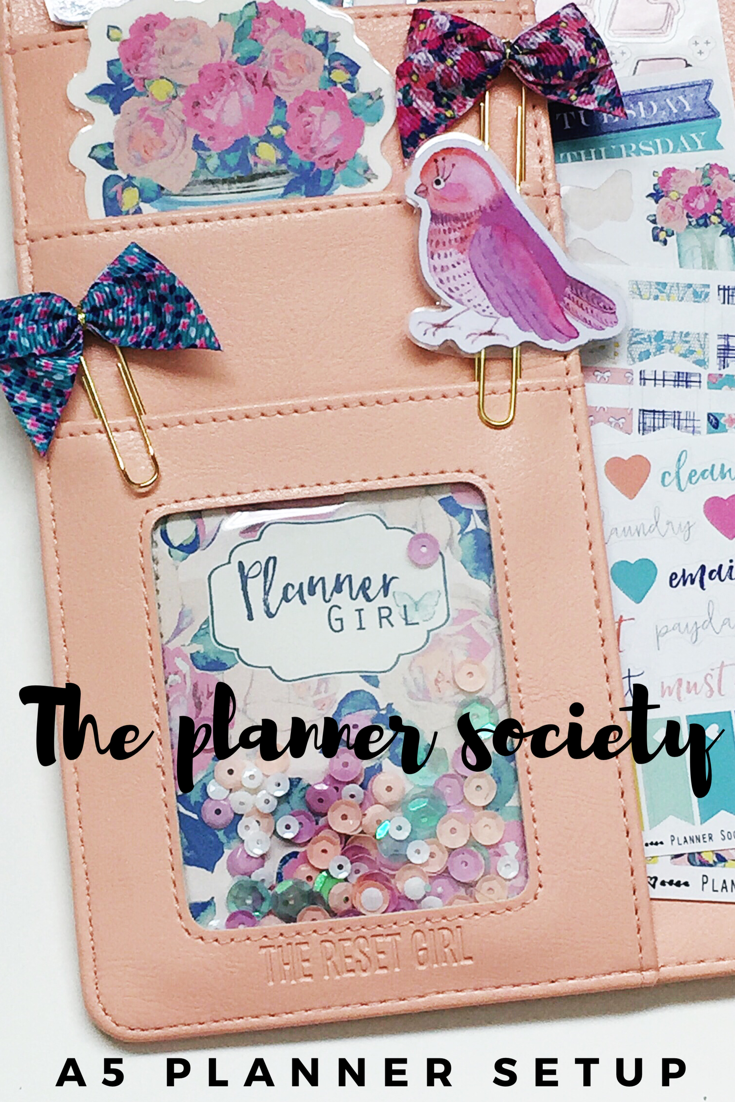
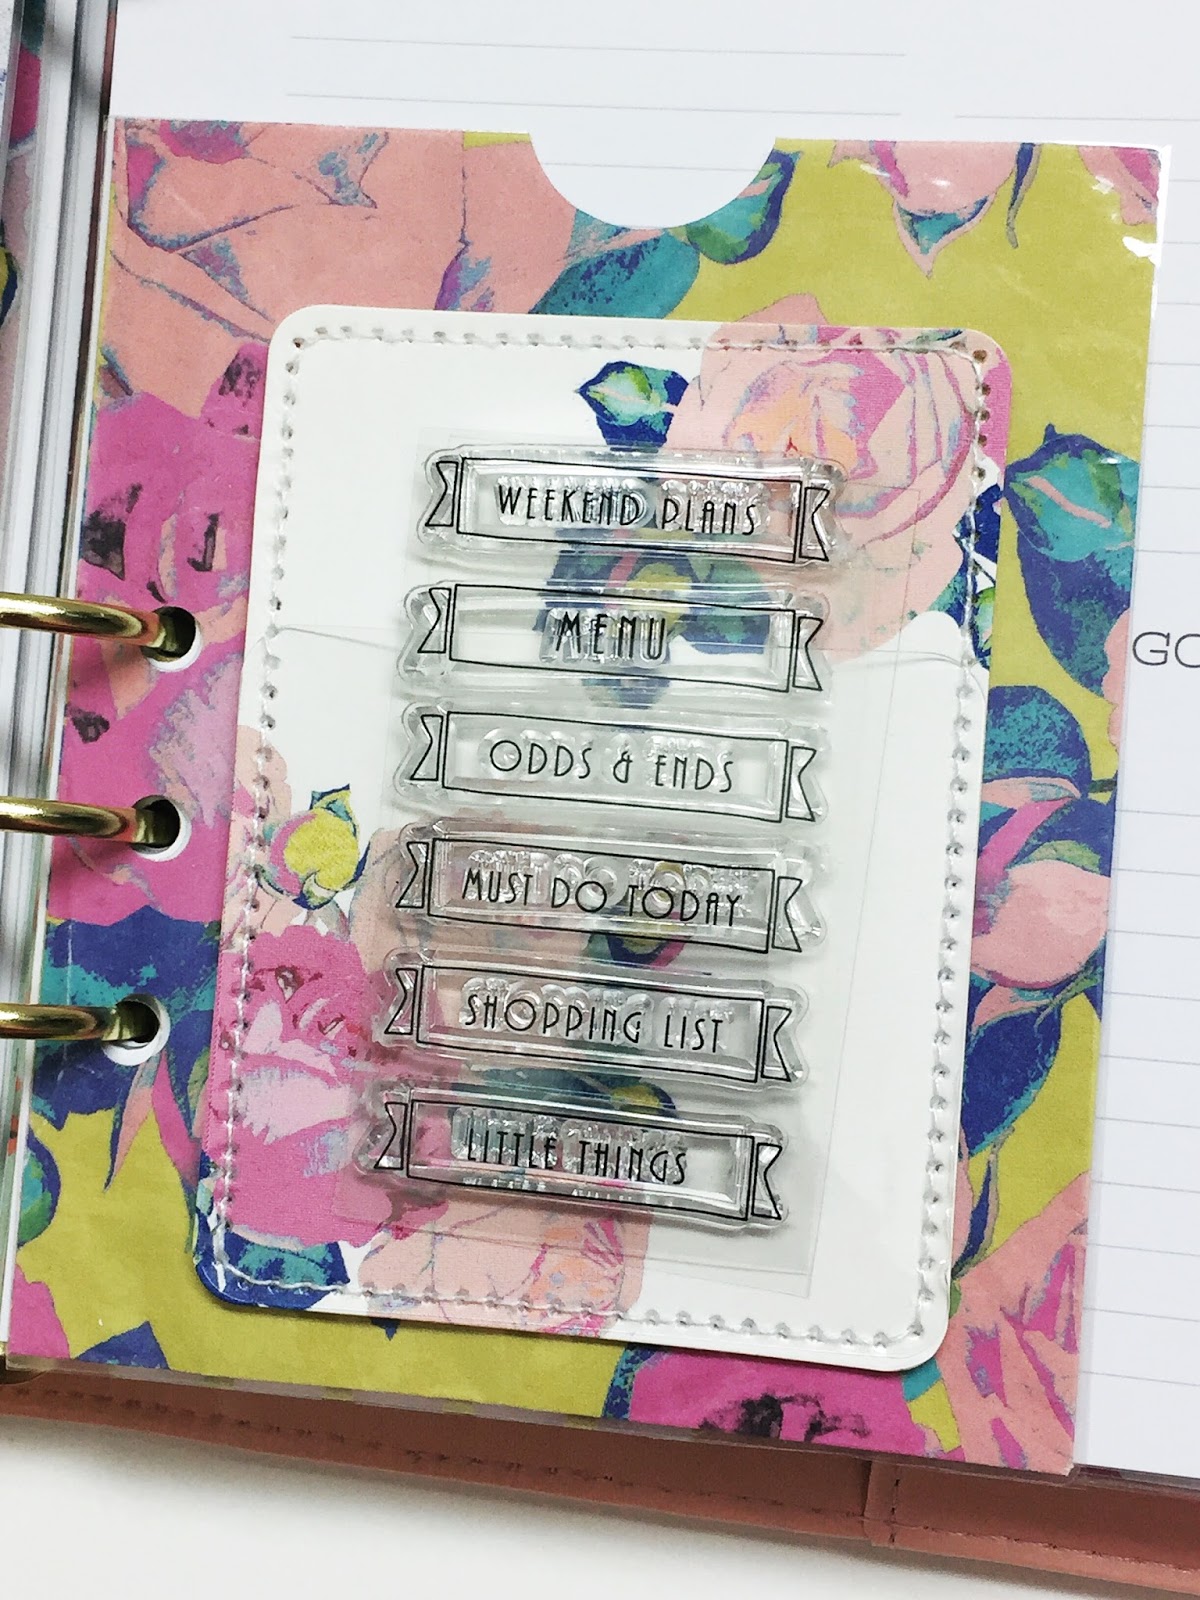
I loved the shaker cards that came in this month's kit. Four were included, two with sequins, and two with an opening at the top of the card and no sequins. I decided to use the two shaker cards with the openings at the top and no sequins, as a sticky note holder and the other as a stamp holder.
Above is the shaker card that I attached using glue to attach it to a folder pocket made by cutting down an envelope from the packaging of the kit and laminating it, and adding some hole punches.
Here I took the shaker card and added some hole punches to the side and stuck the sticky note pad down in the pocket of the card leaving a few pages in the front to hang over, making it easy to grab a sticky note.
I cut down another envelope from the packaging, added a sticky note to the front of it and laminated it. After laminating the envelope cutting it down and adding hole punches to the sides i put a little sticky note on the front as an area to keep sticky notes and little important papers or stickers.
.
I added my last shaker card to the front of my planner attached to the sheet of vellum with a few strips of washi tape.
Using up some of the diecut pieces, I laminated them and used some washi tape to attach a paper clip to the back. Simple diy paper clips! Below is a video I made for you to see more on this setup of my planner using the February Planner Society kit.
Thanks for visiting, I love reading your comments on my planner videos and chatting, thank you for all of your kind words and encouragement. I hope you found some inspiration today for your planners.
Hello friends! Thanks for stopping in to check out my Webster's Pages traveler's notebook setup using the January The Planner Society Kit. I put together a video for you to see how I decorated, and set her up down below. I hope you enjoy, please leave me a comment if you have any questions or just want to chat about planners! I love hearing from you ladies. Enjoy!
First I put some spots of acrylic paint all over my card stock, then took an old gift card and swiped the edge of the card all over the paint creating this messy paint look all over the pages. Once the pages were dry I flipped the paper over and did the same thing with the paint to the back side. Then I used some stamps and ink around the pages to add some texture. After everything was dry I used the We R Memory Keepers tab punch to punch out about 70 tabs. I wanted to have a few left over for my bible journaling. You will only need 66 for all the books of the bible.
After all of the tabs were punched out I took a sticker sheet from Illustrated Faith with all the books of the bible and stuck each one on a tab. I tried to be selective with what sticker went on each tab so that way I didn't have a clump of yellow tabs together and blues together once I got them all into my bible.
Last I used some Tombow mono liquid glue with the pen tip to apply a small amount of glue across the bottom of the tabs. After I had the glue on my tab I carefully added the tab to the page correlating with that book in the Bible. To make sure I had the tabs aligned right, I eyeballed and guesstimated where the next tab would be going by flipping back to my previous tab. I'm sure there is a more accurate way to put these in your bible but for sake of time and my sanity I just eyeballed it, and it came out just fine.
There are a few things you can do to customize your own bible tabs. If you wanted to use patterned card stock instead of painting up your own paper that is one idea, and another would be to hand letter the names of the books of the Bible onto your tabs, or if you have stamps with the books of the bible that is another great option. I hope this gave you some ideas or sparked some inspiration to make your own bible tabs. If you have any questions please leave me a comment below! I love talking with you all!
Hey Planner girls, I hope you all had a great Christmas! The new year is quickly approaching, which means resolutions and goal setting for many of us. This months The Planner Society Kit has a goal theme to it so I thought it would be fun to set up my A5 Kikki K planner with this months kit and use it as a goal planner and tracker. Plan with me video at the end!
I stuffed the front pockets full with all the goodies that came in this months kit, and adding a few sticker sheets from past kits.
I added a little washi card that I made using all the washi from the two kits and wrapping it around a piece of the floral card stock packaging.
I loved all the inspirational quote cards. The one that I wanted to use front and center for me to see every time I open my planner says "A goal with out a plan is just a wish." If that isn't some motivation to read every time you open up your goal planner then I don't know what is!
How cute are the little planner girls holding the big bouquet of flowers?
I kept my monthly spread pretty simple just adding some washi around the edges and some of the stickers.
I pulled out a note yellow floral note pad from a previous kit that happened to match with the yellow floral in this months kit.
I added a tab to the top, hole punches on the sides and ran it through the laminator. I want to use this as a book mark for the day and thought it would be fun to stick my sticky notes to it since it is laminated.
Another fun inspirational quote to "Do what you love and love what you do."
There is the gorgeous matching yellow floral I was talking about.
I laminated all of my dividers. Here on the back side of one of my dividers I added another sheet of that sticky note, another great place to stick my sticky notes or use as a dry erase.
I made one more book mark for my notes adding a sticky note here so again I could use it to lay my sticky notes on top since its laminated or as a dry erase board.
I have done an unboxing and planner set up video for you to check out to see more.
I wanted to do a planner flip through of my December set up in my Carpe Diem Ballerina A5 Planner using the November Planner Society Kit, and there is a little weekly plan with me at the end. Enjoy Planner Girls!
Hey planner girls!! I wanted to share with you my planner set up in my Carpe Diem Posh planner using October's Scarlet Lime The Planner Society Kit. I also have a plan with me video at the end of this post for you to watch as well.
The front pockets of my planner are stuffed full with a washi card I made using this months washi kit, along with stickers and a cute to do note pad.
Here in the front of my planner is the dashboard I made using some of the packaging from the puffy stickers that said "happy planning". After cutting it down I layered some of the papers in the kit behind it, and added a die cut fox and puffy sticker quote.
I also made five different dividers for my planner using the papers from the kit along with the tabs and tab stickers.
The first divider is for monthly calendars. Since the planner society kits ship late in the month, I used the October kit to set up for the month of November.
I love that this months kit has a fall feel to it. My Simple Stories Hello Fall Collection matches with it perfectly.
How pretty is this denim floral pattern, and the little owl?!
I used the journaling cards included in the kit on each of the dividers and layered some papers and washi behind them.
The pen from this month matches my planner perfectly, and that floral. I have all the heart eyes for! I love how every thing always coordinates and matches so well within the kits each month.
Here is the plan with me video to see how I made these dividers, the dashboard, washi card and the monthly set up. Thanks for stopping by. If you would like more information on the monthly subscription kit to the Scarlet Lime Planner Society you can here : http://www.scarletlime.com/plannersociety15.html
Hello planner girls! I just wanted to do a quick post for the unboxing video of Scarlet Lime's October The Planner Society Kit.
Thanks for watching! If you have any questions, or want to leave me a comment. I love chatting with you gals! Check back for my planner set up, and plan with me video using this kit.
Hello planner friends, and welcome to the Mixed Media Attic! Today I wanted to share with you all a few things that I did to set up my Carpe Diem The Reset Girl A5 Ballerina Planner by Simple Stories. I have also filmed a plan with me video which you can watch down below.
I went ahead and used the dashboard that came in the front of the planner. I think that Honey Girl is just so confident and the way her arms are up in the air make it seem as if she is saying "Bring it on world, I got this!" I added some washi tape and die-cuts to jazz the page up a bit, along with page reinforcements around the ring holes.
The back side of the dashboard had a little library tag with little strips of wash. I thought it would be neat if I laminated my dashboard so I could use the back side to attach sticky notes pads on the library tag like I did here above.
Above is one of the dashboards that comes in the dashboard set, I added some diecuts from The Reset Girl Big Pieces and laminated it also, so that the sticky notes could be attached to it.
Finally the full weekly layout! If you would like more details on how I made my dashboards and the dashboard for the sticky notes, or to see the walk through of my planner set up, and the weekly plan with me then please be sure to watch my video below.







 Posts
Posts


