
Altered Turquoise Painter's Tray
Hello friends and thank you for visiting the Mixed Media Attic today. This week I have been working on an altered printers tray by 7 Gypsies. The possibilities of what you can do to a printers tray are endless. There are so many great ideas for inspiration on Pinterest that you can find. While shopping at my local Michael's store I was rummaging the clearance shelf one afternoon and found this Printers Tray nearly 50 % off the original price. So of course I couldn't pass up the deal, and have been hoarding it in my stash for months. I can't help buying something when its on sale or clearance. You can call me a craft hoarder I suppose, but I seem to always find good use for my discounted goods. Can you tell that I'm tying to make excuses for my self now?
Recently while browsing Etsy.com (a website full of handmade, vintage, and other unique goods) for some vintage ephemera and embellishments I found this amazing Shop with the most unique vintage flapper girls. Head over to Lisa's Altered Art Etsy Shop to check out some of her digital files. She also had some coupon codes up on her shop. I wanted to share them with you all. Seriously she has some neat stuff!
COUPON CODES
Spend 10.00 and get 10% off. Use Code LAA10
Spend 20.00 and get 20% off. Use code LAA20
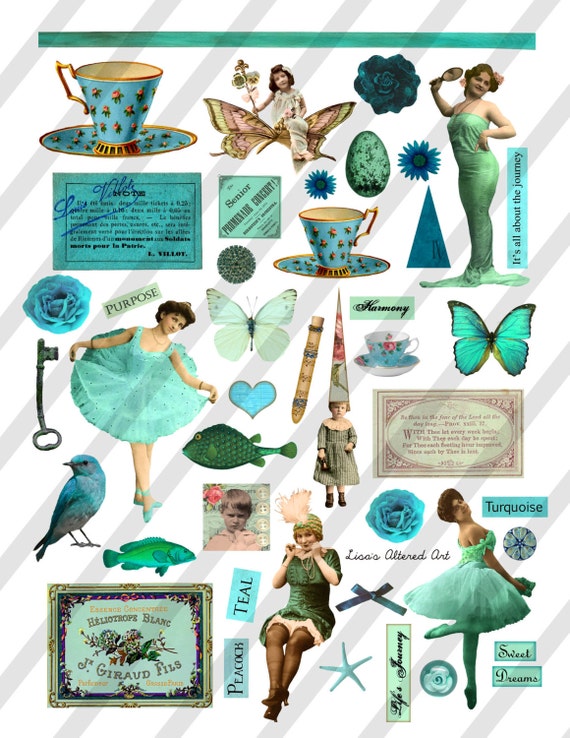
Here are one of the digital collage sheets that I have purchased and decided to use.
Supplies Used:
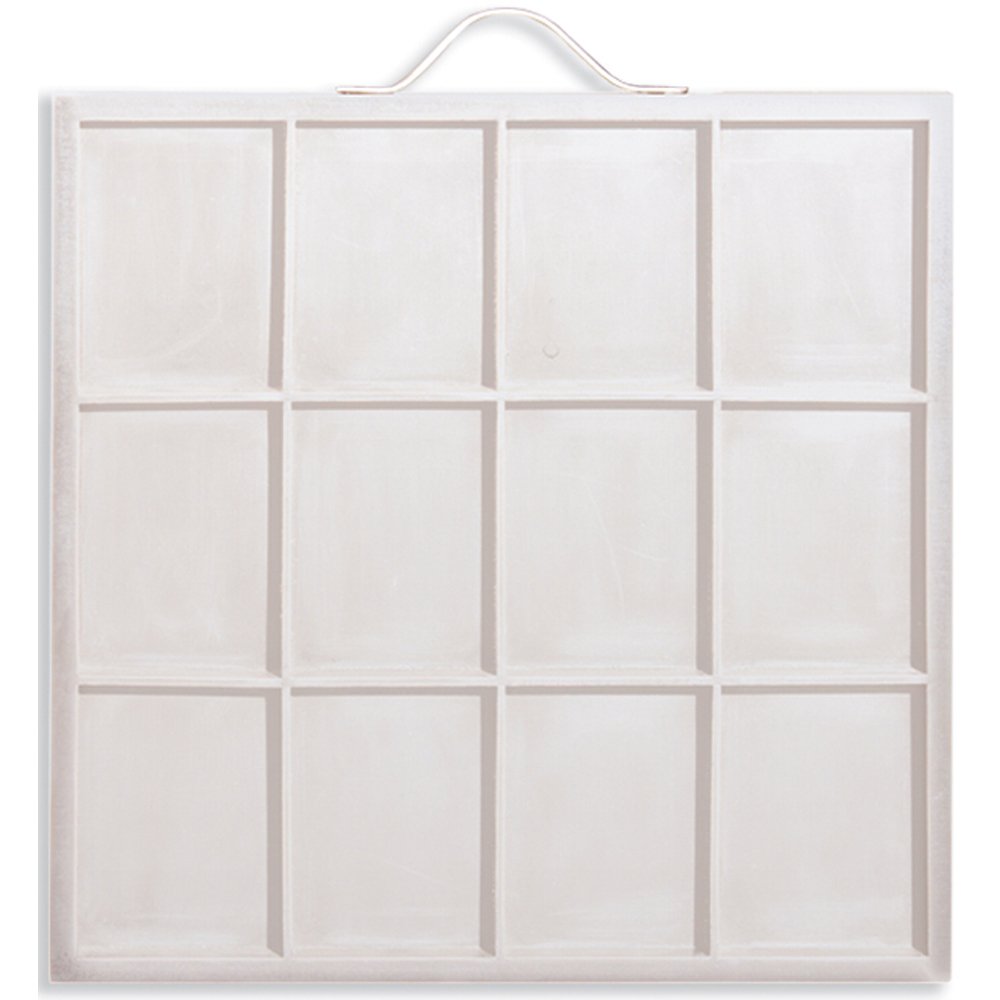
7 Gypsies Printers Tray - White (12 1/8 x 12 1/8 x 5/8)
Liquitex Matte Medium
Prima Marketing Shabby Chic Treasures Resin embellishments
Martha Stewart Wood Stain - Beach Glass
Tim Holtz Idea-olgy - Tissue Tape - Journeyman
DCWV Stack - Vintage Essentials 48 sheets
American Crafts Premium Ribbon Lace
Prima Marketing turquoise flowers
Metal and Wooden Embellishments
Steps:
1. Cut out collage pieces, and cut out squares to fit in each square of the tray
2. Lined the edges of each square with tissue tape or wahi tape

3. Adhere the squares of paper with a matte medium
4. Paint the sides of the tray and edges of the squares
5. Paint all the wooden embellishments
6. Arrange each of the collage pieces and the embellishment, take a photo of how they are arranged so you remember how they originally were placed.
7. Glue everything down.
With that I called it finished.

Be sure check out Lisa's Altered Art Esty Shop for some unique finds to add to your latest projects and art. Thanks for stopping by and checking out my blog post today. I would love to see what kind of altered art you all will come up with. Leave me a comment.
Below I have included a YouTube video for you all so you can watch me create this altered printers tray. Enjoy!
Happy Crafting Friends!


Love what you did with this! The turquoise paint looks wonderful and it is echoed in the images you used. Thanks for adding me back on G+! ;)
ReplyDeleteThank you so much :) I have been really loving turquoise lately. Thanks for the add as well! Love your work! Great inspiration.
DeleteThank you so much :) I have been really loving turquoise lately. Thanks for the add as well! Love your work! Great inspiration.
Delete